This guide is part of our series on AI for branding and design.
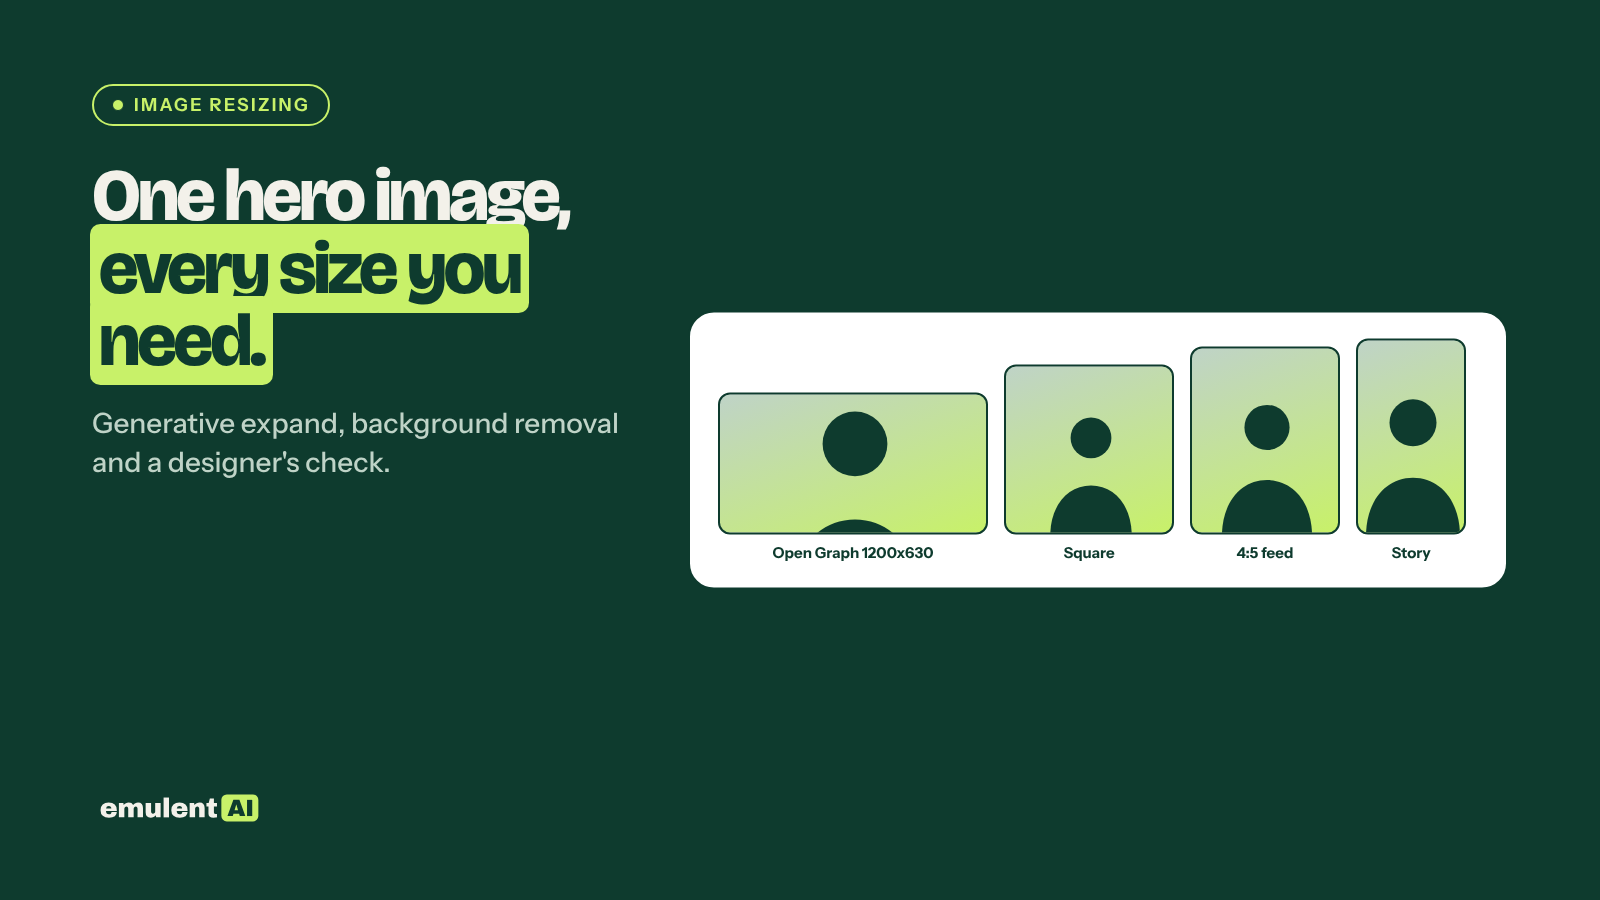
An approved hero image rarely stays one file. It needs a wide crop for the website, a square and a portrait for social posts, several ad sizes, a tall mobile crop and an Open Graph image for link previews. Cropping a wide photo into a tall format usually cuts off the subject. Generative expand fixes that by extending the image beyond its original edges, so you can change the shape without losing the subject.
What you need
- The approved hero image at the highest resolution you have
- An image tool with generative fill or expand, such as Adobe Photoshop or Adobe Express (Firefly), or a similar tool
- A list of every size you need, from each platform’s current specifications
- A designer or editor to check every output
Step 1: List the sizes
Write down every placement and its size before you start. Check each platform’s help pages for current specifications, since they change. Common ones include an Open Graph image at 1200 x 630 pixels for link previews, square and 4:5 portrait images for social feeds, and the ad sizes your campaigns use. Note where text or buttons will sit over the image on each placement, so the subject does not end up behind them.
Step 2: Prepare the source
Remove anything that should not repeat in every version, such as old text baked into the image. If the subject needs to sit on different backgrounds for ads or product cards, use background removal to make a cutout and save it as a separate file with a transparent background.
Step 3: Expand to each shape
For each new shape, set the canvas to the target ratio with the original image placed where the subject should sit, then use generative expand to fill the empty areas. Keep any prompt short and descriptive of what is already there, such as “continue the wood floor and white wall.” Generate several options and pick the one where the new area matches the light, perspective and texture of the original.
Then scale each file to its exact pixel size and export in the right format: JPEG or WebP for photos, PNG where you need transparency.
Step 4: Check every output at full size
Generated areas can contain problems that are easy to miss at thumbnail size: a repeated pattern, a warped edge, a half-formed object, text that looks like writing but is not. Check each file at 100 percent. Pay close attention to anything near the edges of the original image, where the old and new areas meet.
Step 5: Name and store the set
Name files by placement and size, such as hero-og-1200×630.webp, and store the set with the source file and the prompts used. When the hero image changes, you can rebuild the whole set the same way.
Checks before you publish
- Do not use generative expand to add people, products or details that were not in the original scene, especially in ads. An extended background is fine; an invented product feature is not.
- Check the terms of the tool you use for commercial use of generated areas, and keep your client informed that parts of the images were extended with AI.
- Write alt text for each placement. The accessibility checks guide covers doing that in bulk.
If you are still choosing the hero image, start with mood boards and hero concepts, and size the final image only after it is approved.
Put this to work with Bill.
Tell Bill about your next brand or website project. He’ll tell you which of these jobs to hand to AI first.
Contact Bill directly
Or call 773-791-3197